
First thing I did, was open up one of the Round a-bout templates. I chose the 4th template because I loved all the circles and it was the easiest one to resize. I clicked my crop tool and cropped the layout down to just the circles and the stitches.
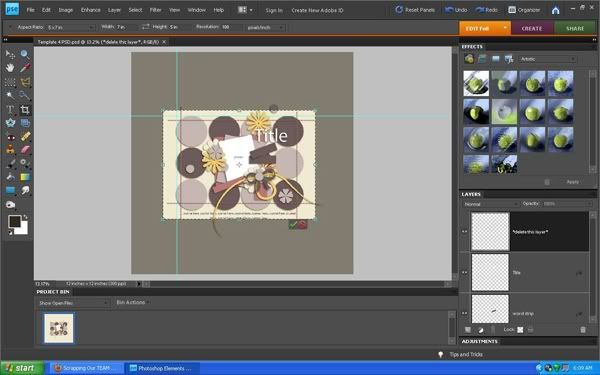
After I cropped the template, I deleted the shadows on all the circles and elements. You will see why later. I kept the shadows on the stitches and anything I was not going to cut out. Then I started adding in my papers and elements, just like I normally would on a layout.

I resized the layout to 6.5x4.643, so I would have a color border around the finished card. I opened up a blank 8.5x11 inch page and I copied my card layout as a flattened image. Now, you could leave it as a flattened image, and print it out at this point. But I like my cards to have more depth, so I put the elements and circles I was cutting out underneath my flattened image.
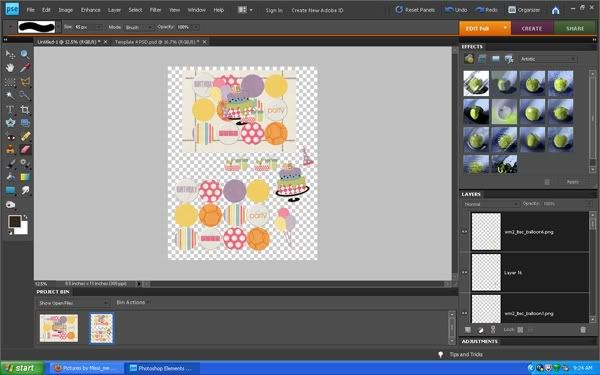
I printed out the page, making sure my printer was set to print the page as borderless. I grabbed tape and my scissors and started cutting out the card, circles, and elements.
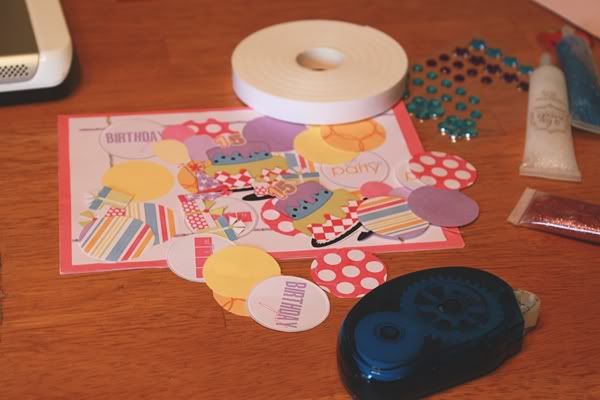
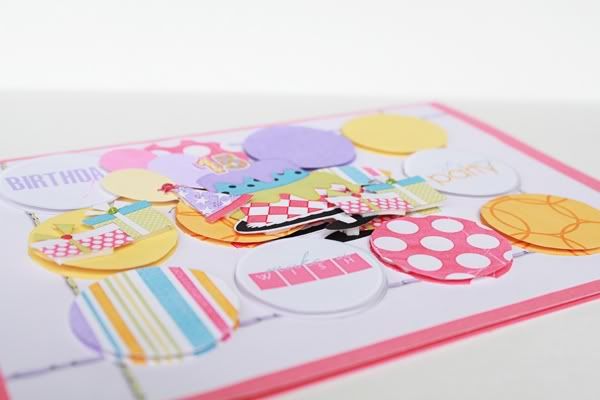
Once I had everything cut out (which didn't take more than 15 minutes) the card was ready to assemble. I used the card layout as my background paper and attached it to a 5x7 card using double sided tape. Then, I cut a strip of foam tape for each circle and element and attached them to the card. Here is the finished card.

I love how the foam tape adds dimension to it.
If you are feeling a little creative, I would love to see what kind of hybrid goody or card you make. You can link them to this post in the comments section. Have a great day!

Fantastic tutorial Melissa :)
ReplyDeleteGreat idea!
ReplyDelete